Themes and custom domains
Two settings that change how your site looks and where it lives: the theme that styles every page, and the domain name visitors type to reach you.
Switching theme
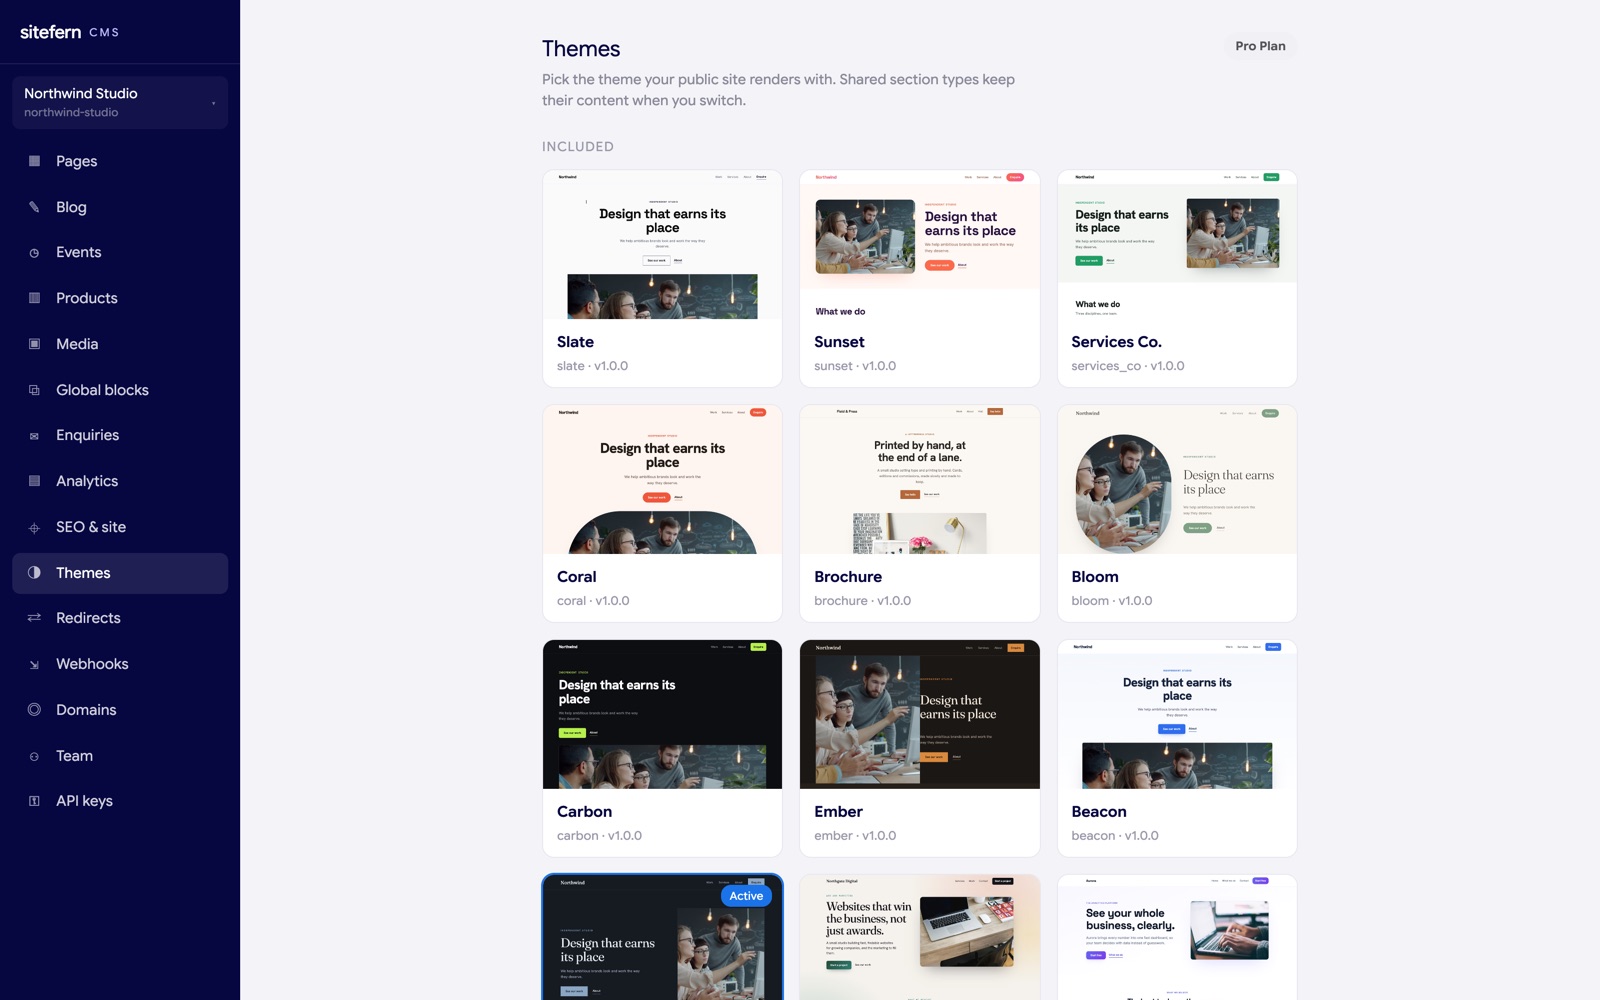
The Themes screen shows the full set of finished templates. Each one styles your whole site, and you can switch between them at any time.
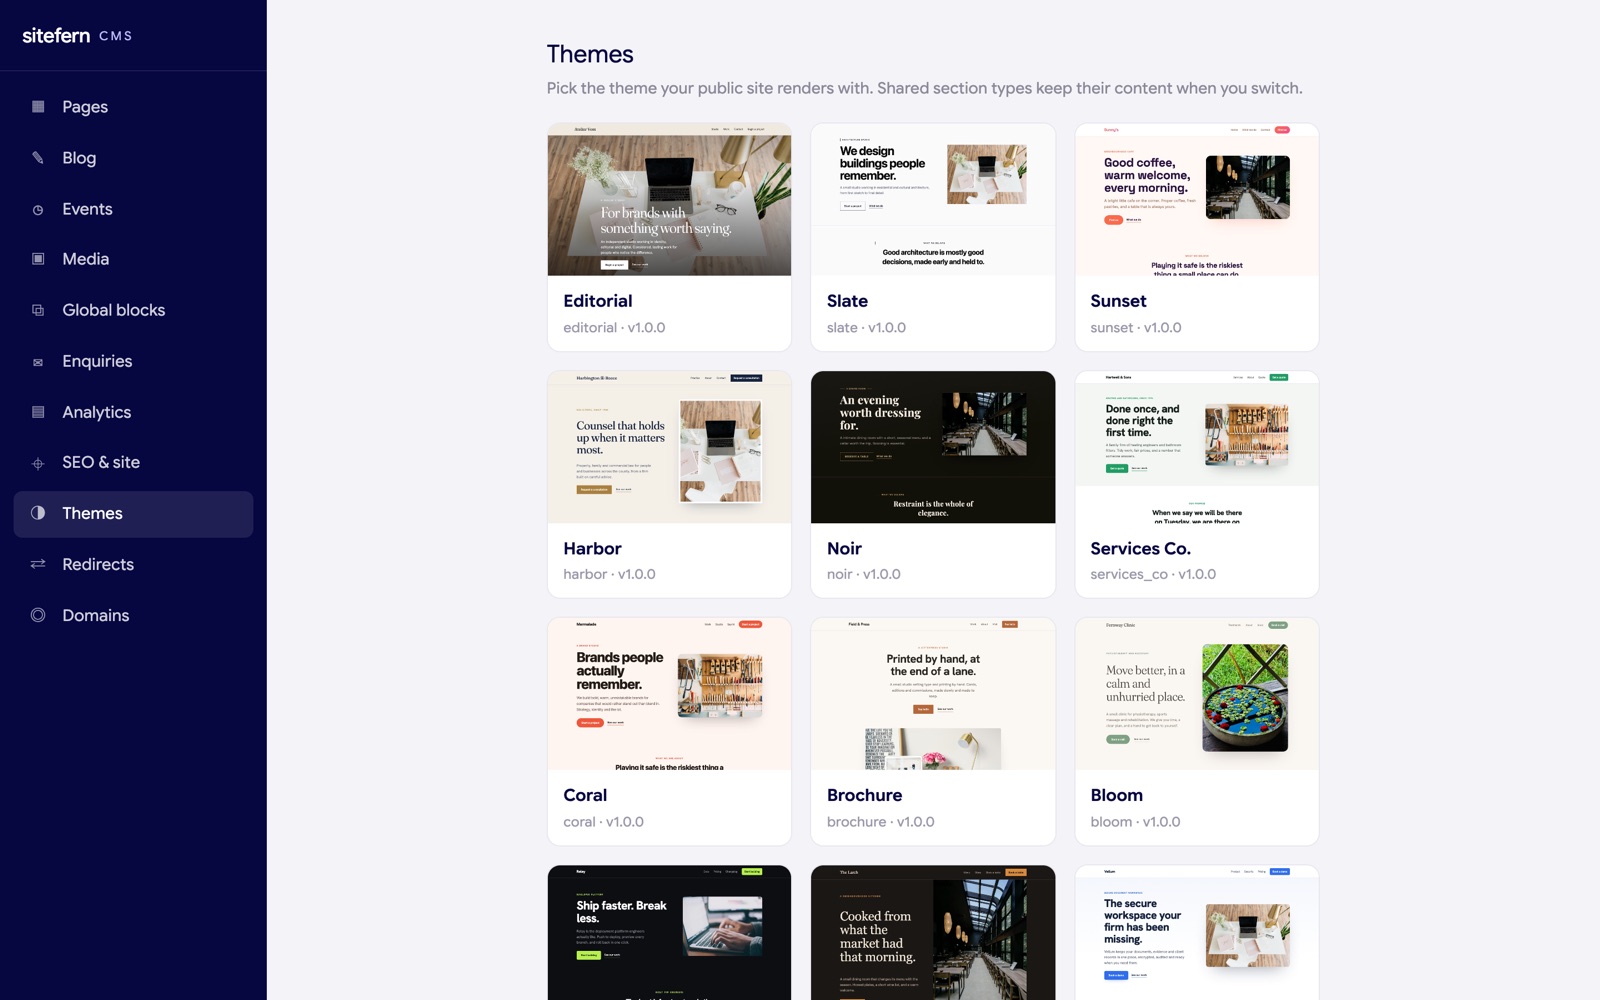
The point worth knowing is that your words and pictures are kept separate from the design. When you switch theme, your content stays put and is restyled by the new look, so you can change the feel of the site without rewriting anything. A section type the two themes share keeps its content across the switch.
The themes are grouped into Included and Premium, with your plan shown at the top of the screen. Premium themes need a paid plan; on the free plan they show a lock, and choosing one keeps your current theme active and tells you which plan unlocks it, rather than the switch silently failing.
Theme settings
Each theme has its own settings screen for the look that applies across the whole site, separate from the per-section styling covered in sections and blocks.

The options depend on the theme, because each one declares its own, but they commonly include your brand colour, heading and body fonts, a logo, the corner roundness, and the button style. Changing one updates every page at once, which lets you make a shared template feel like your own without touching the layout.
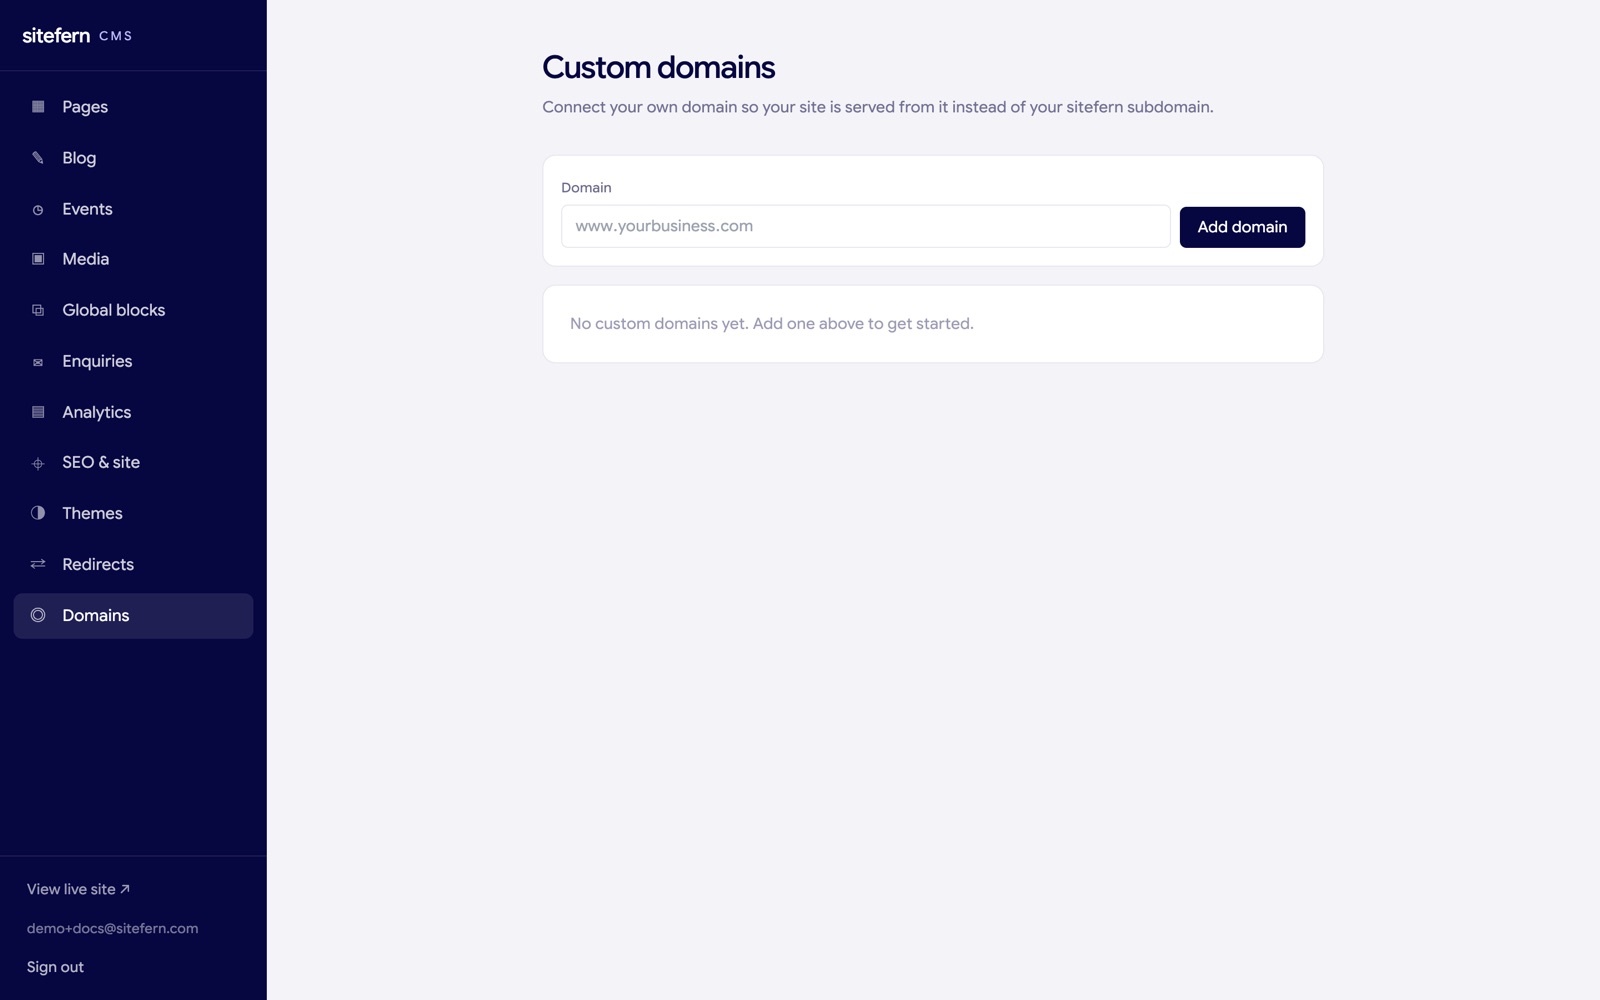
Connecting a custom domain
On the free plan your site runs on a sitefern address such as yourbusiness.sitefern.com. On a paid plan you can connect your own domain, and the Domains screen walks you through it.
The steps, in order
- Add the domain. Enter your domain name (for example www.yourbusiness.com) and add it. It appears as pending verification.
- Publish the verification record. sitefern shows a TXT record to add at your DNS provider. This proves you own the domain. The record name and value can be copied with a click.
- Point the domain at the platform. Add an A record for the domain pointing at the platform's address (shown on the screen), set to DNS only rather than proxied.
- Verify. Click verify. Once the record is found and the domain is pointing at the platform, the site begins serving on it over HTTPS within a couple of minutes, with the security certificate set up and renewed for you. There is nothing to configure and no certificate to buy.
If a check does not pass on the first try, that is almost always DNS taking a few minutes to update. Add the record, wait a moment, and verify again. You can remove a domain at any time, which stops it serving your site, and a verified domain shows its certificate status so you can see it is live.